How to Fix GE Oven F7 Error Code
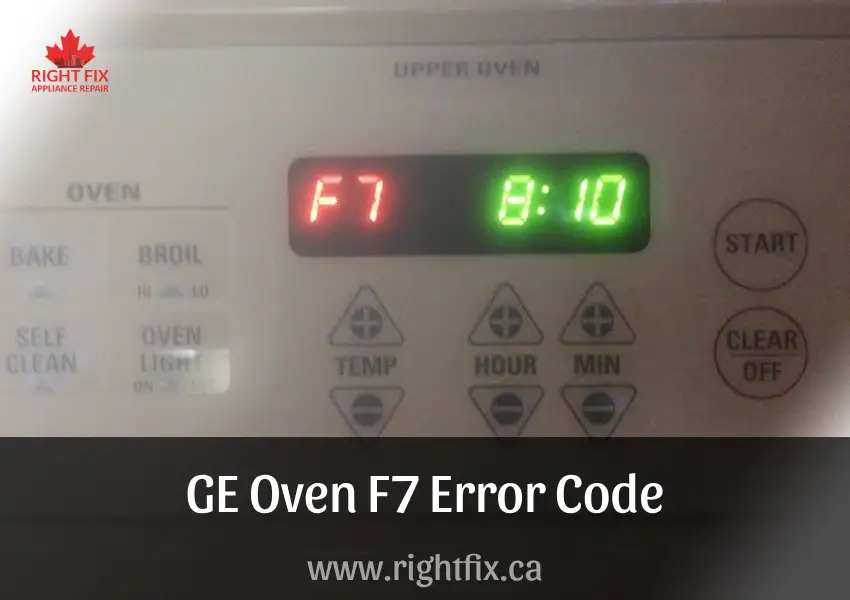
If your GE oven is displaying an F7 error code, it indicates a problem with the key panel. This usually happens when the oven detects that buttons are stuck or being pressed simultaneously. In most cases, the issue can be resolved by cleaning the ribbon cable, replacing the key panel, or replacing the control panel. A malfunctioning oven clock may also be responsible, which, in many models, requires replacing the control board.
For a temporary fix, you can reset the oven by disconnecting it from the power source for three minutes or following the reset instructions in your oven’s manual. However, to prevent the error code from reappearing, the underlying issue must be diagnosed and repaired.


Check & Clean the Ribbon Cable
Sometimes, the F7 error code is triggered by a loose or dirty ribbon cable, which connects the key panel to the control board. To inspect and clean the ribbon cable, you’ll need to remove the panel covering the control board at the back of the oven. Once the panel is off, the ribbon cable can be disconnected and cleaned using a pencil eraser or an electrical cleaner.
The ribbon cable is typically secured by small tabs. When detaching it, be cautious not to damage the connectors. In some cases, simply removing and reattaching the ribbon cable may resolve the issue.
Steps to Check and Clean the Ribbon Cable:
-
Disconnect the oven from the power source.
-
Remove the screws securing the oven’s back panel to access the control board.
-
Locate the ribbon cable and gently release the tabs securing it.
-
Clean the ribbon cable using a pencil eraser or an electrical cleaner. If using an eraser, apply moderate pressure to the copper connectors until they appear clean.
-
Reattach the ribbon cable to the control board and key panel. If using an electrical cleaner, allow it to dry before reconnecting.
-
Reassemble the control panel and test the oven to see if the F7 error has been resolved.
Control Board or Key Panel
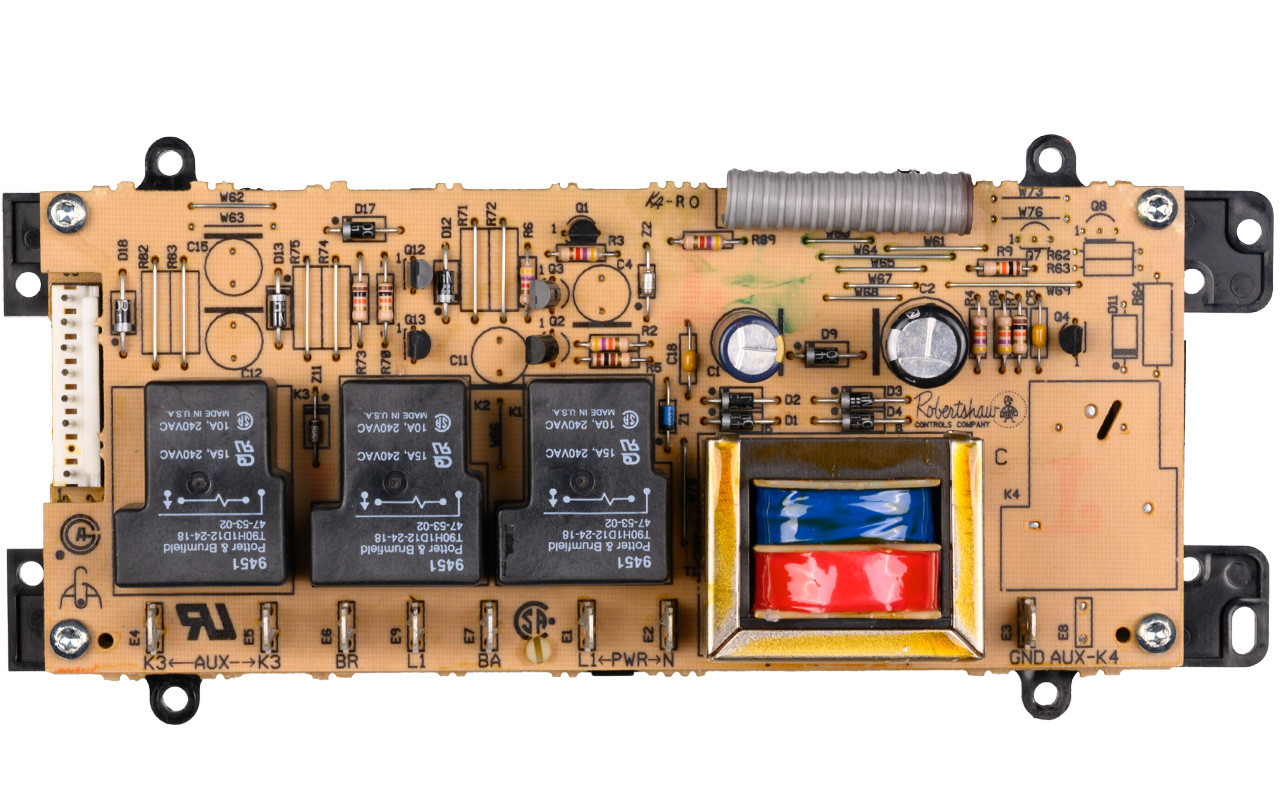
If cleaning and reconnecting the ribbon cable does not resolve the issue, you may need to replace either the key panel or the control board. A visual inspection can help determine which component is faulty. Signs of burning or damaged wiring indicate a control board failure, while signs of moisture, broken seals, or stuck keys suggest a faulty key panel.
If there are no visible signs of damage, you can diagnose the problem by disconnecting the ribbon cable from the control board and leaving it unplugged for 24 hours. If the F7 error code reappears, the control board is likely the issue. If the error does not return, the key panel is the culprit.
Steps to Check the Control Board and Key Panel:
-
Disconnect the oven from the power source.
-
Remove the screws securing the back panel to access the control board.
-
Detach the ribbon cable from the control board by releasing the tabs.
-
Reinstall the back panel for safety and restore power to the oven.
-
Monitor the oven for 24 hours to see if the F7 error code returns.
-
If the error persists, replace the control board. If it does not, replace the key panel.
Since replacing the control board is typically more expensive than replacing the key panel, consider seeking professional advice before proceeding.
How to Replace the Key Panel
Accessing the key panel may vary depending on your GE oven model. Taking photos of the wiring before disassembly can help with reassembly.
Steps to Remove and Replace the Key Panel:
-
Disconnect the oven from the power source.
-
Remove the screws securing the back panel to expose the control board.
-
Detach the ribbon cable by releasing the securing tabs.
-
Locate and remove the screws securing the heat deflector and set it aside.
-
Remove the screws securing the control board and the spark module.
-
Detach the grounding wire by removing its securing screw.
-
Remove the screws holding the console to the oven frame and then remove the console itself.
-
Remove the screws securing the key panel and carefully peel it off using a paint scraper.
-
Attach the new key panel to the console and reassemble the oven.
How to Replace the Control Board
Steps to Remove and Replace the Control Board:
-
Disconnect the oven from the power source.
-
Remove the screws securing the back panel and lift it off.
-
Detach the ribbon cable by releasing the securing tabs.
-
Remove the screws securing the control board.
-
Take a photo of the wiring connections before detaching them.
-
Use needle-nose pliers to carefully disconnect the wires from the control board.
-
Install the new control board, reconnecting the wires as per your reference photo.
-
If reusing the original key panel, carefully remove it from the old control board console using a heat gun and attach it to the new console.
-
Reassemble the oven.
This guide applies to the following models:
- 4132990
- 42069
- 4242590
- 4252990
- 4352590
- BP76GS1
- JGBP25SEN1SS
- JGBP26DEM2CC
- JGBP26DEM2WW
- JGBP26DEM3CC
- JGBP26DEM3WW
- JGBP33BEH1BB
- JGBP33CEH1CC
- JGBP33WEH1WW
- JGBP35AEA4AA
- JGBP35BEA4BB
- JGBP35WEA4WW
- JGBP40WEH1WW
- JGBP79MEB3BC
- JGBS22BEW3AD
- JGBS22BEW3WH
Still Need Help? Contact RightFix!
If you've followed these steps and your oven is still not working properly, don't worry! RightFix specializes in GE professional appliance repairs, ensuring your oven is back to working order quickly and efficiently. Contact us today, and let our experts handle the fix for you!
Location we Service
- Ajax
- Alliston
- Aurora
- Bolton
- Bradford
- Brampton
- Brantford
- Burlington
- Caledon
- Cambridge
- Concord
- East York
- Etobicoke
- Georgetown
- GTA
- Guelph
- Halton Hills
- Hamilton
- Innisfil
- Keswick
- King City
- Kitchener
- Kleinburg
- Maple
- Markham
- Milton
- Mississauga
- New Tecumseth
- Newmarket
- North York
- Oakville
- Orangeville
- Oshawa
- Pickering
- Richmond Hill
- Scarborough
- Schomberg
- Stouffville
- Thornhill
- Toronto
- Unionville
- Uxbridge
- Vaughan
- Waterloo
- Whitby
- Woodbridge