How to Install a Dishwasher Correctly
If you're looking for expert help with appliance installation, including dishwashers, visit RightFix Appliance Installation. Whether you're installing a new dishwasher or replacing an old one, following the correct steps ensures it will work properly and efficiently.
Installing a dishwasher may seem like a daunting task, but with the right tools and knowledge, it can be done efficiently and safely. Whether you're replacing an old dishwasher or installing a new one, following the correct steps will ensure it functions properly and efficiently. This guide will walk you through the entire installation process from start to finish.
Tools and Materials You'll Need
Before starting your dishwasher installation, gather the necessary tools and materials:
- Adjustable wrench: For tightening connections.
- Screwdriver: To secure the dishwasher in place.
- Plumber's tape: For sealing connections.
- Dishwasher installation kit: Often includes hoses, power cords, and mounting hardware.
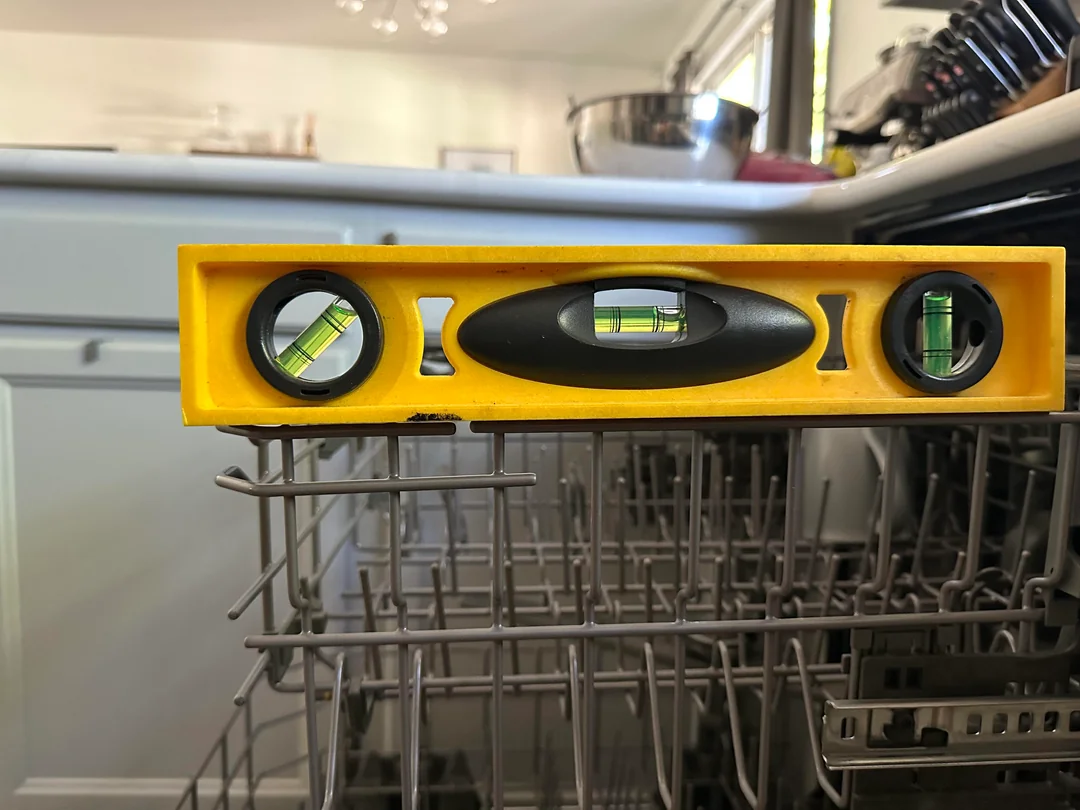
- Level: To ensure the dishwasher is installed evenly.
- Drill (optional): For creating mounting holes.
Step-by-Step Guide to Installing a Dishwasher
1. Turn Off the Water and Power
Before beginning any installation work, ensure that the water supply and power to the existing dishwasher are completely turned off.
- Shut off the water valve: Locate and turn off the water supply valve connected to the dishwasher.
- Unplug or turn off the power: Disconnect the power at the circuit breaker or unplug the appliance.
2. Remove the Old Dishwasher (if applicable)
If you're replacing an old dishwasher, follow these steps:
- Disconnect the water supply: Use a wrench to unscrew the water supply line from the old dishwasher.
- Disconnect the drain line: Remove the drain hose from the sink or garbage disposal.
- Unplug the power: If hardwired, disconnect the electrical wires. If plugged in, simply unplug the appliance.
- Remove mounting screws: Unscrew the dishwasher from the countertop or cabinet.
3. Prepare the New Dishwasher
Before installing the new dishwasher, you'll need to attach a few components:
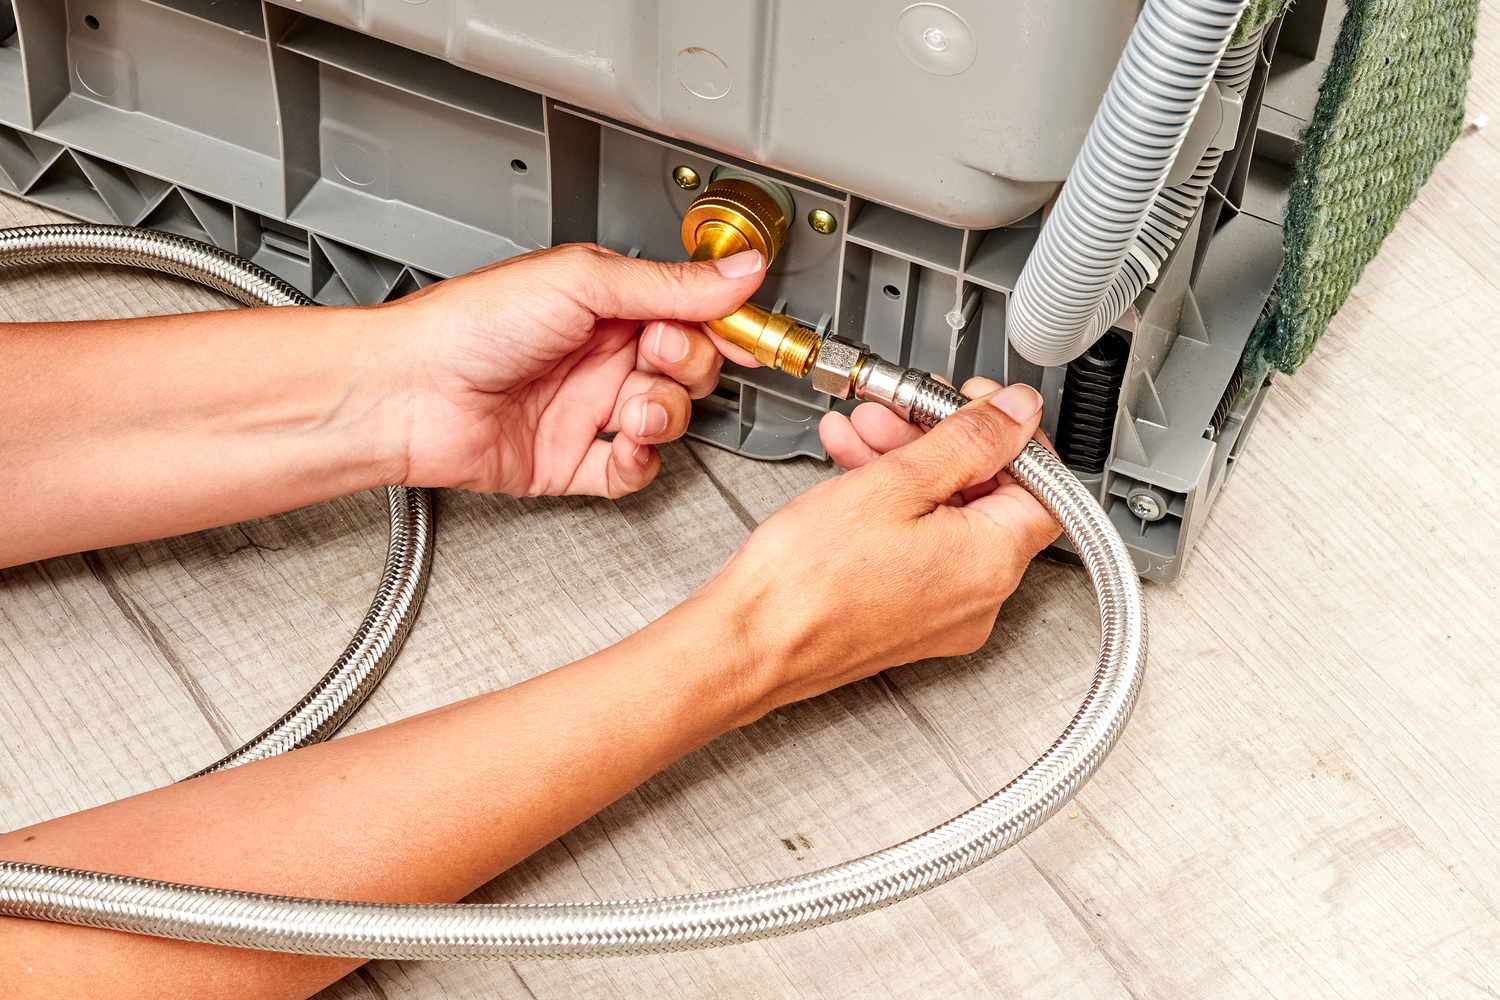
- Attach the water supply hose: Use plumber’s tape to wrap the threaded end of the water inlet valve to ensure a tight seal. Connect the hose to the valve.
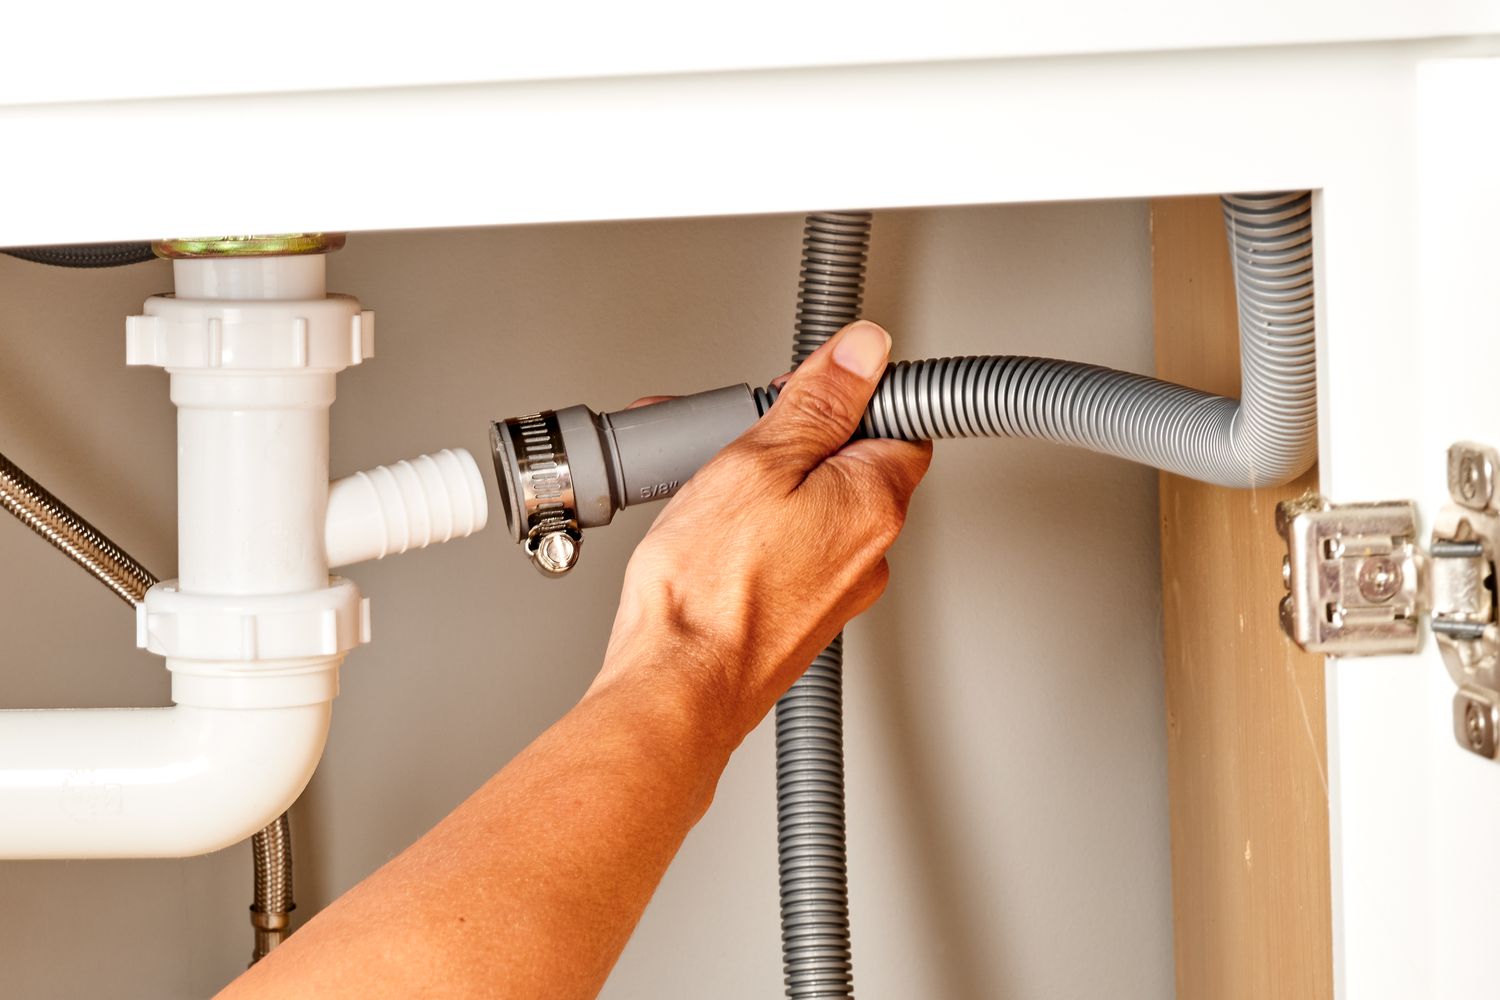
- Connect the drain hose: Attach the drain hose to the dishwasher’s drain port, securing it with a clamp.
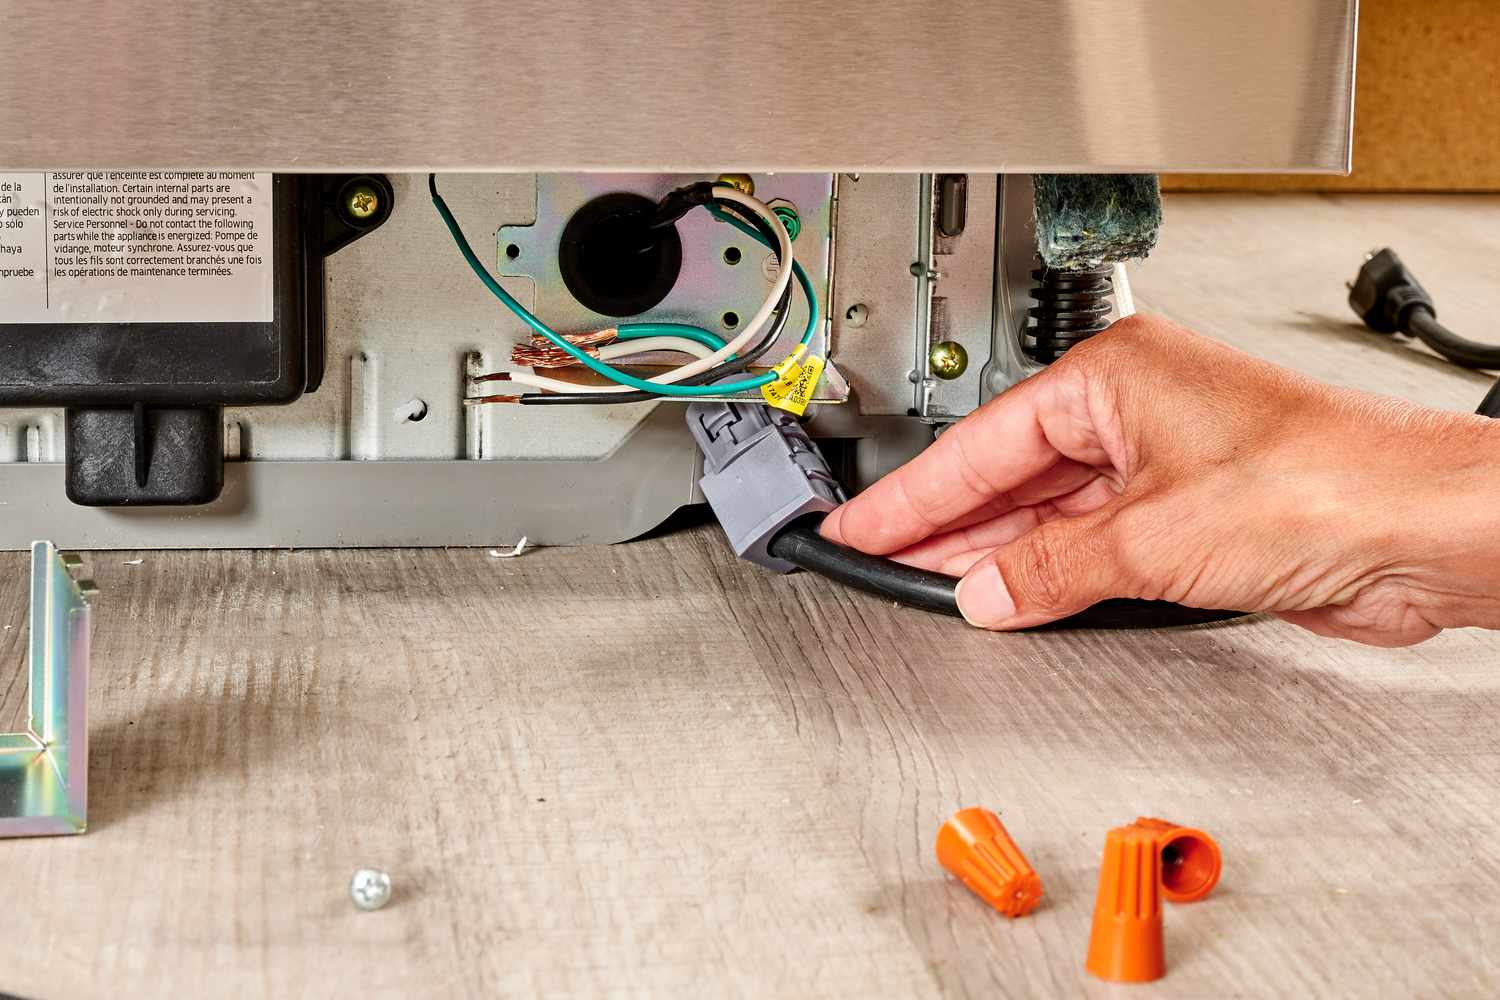
- Install the power cord: If the dishwasher doesn't come with a pre-installed power cord, connect the electrical wiring to the dishwasher’s terminal block (follow the manufacturer’s instructions).
4. Position the Dishwasher
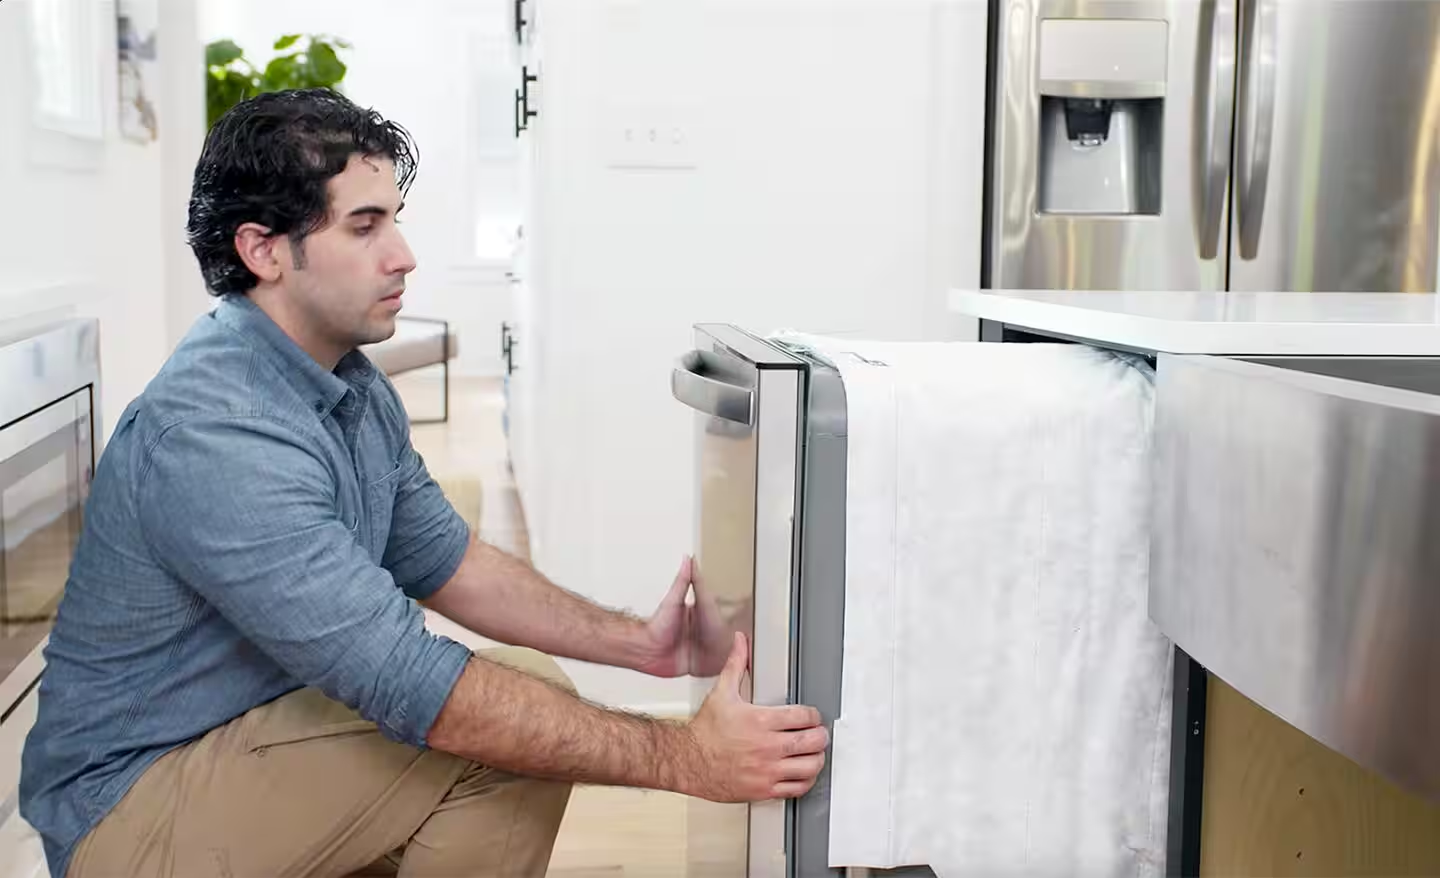
- Slide the dishwasher into place: Carefully align the dishwasher under the countertop and between the cabinet frames.
- Level the dishwasher: Use a level to ensure that the dishwasher is properly aligned both side-to-side and front-to-back. Adjust the legs if needed to level the unit.
5. Connect the Water Supply
- Attach the water line: Use a wrench to connect the water supply line to the dishwasher’s water inlet valve.
- Tighten the connection: Ensure the connection is tight but be careful not to overtighten, as this may damage the threads.
6. Connect the Drain Line
- Attach the drain hose: If your dishwasher has a drain hose, connect it to either the garbage disposal or the sink drain.
- Secure the hose: Tighten the hose clamp around the connection to prevent leaks.
7. Wire the Power Supply
- Connect the electrical wires: If your dishwasher is hardwired, connect the black wire (hot) to the black wire in the junction box, the white wire (neutral) to the white wire, and the green or bare wire (ground) to the ground screw.
- Plug in the appliance: If the dishwasher has a power cord, plug it into a nearby outlet.
8. Mount the Dishwasher
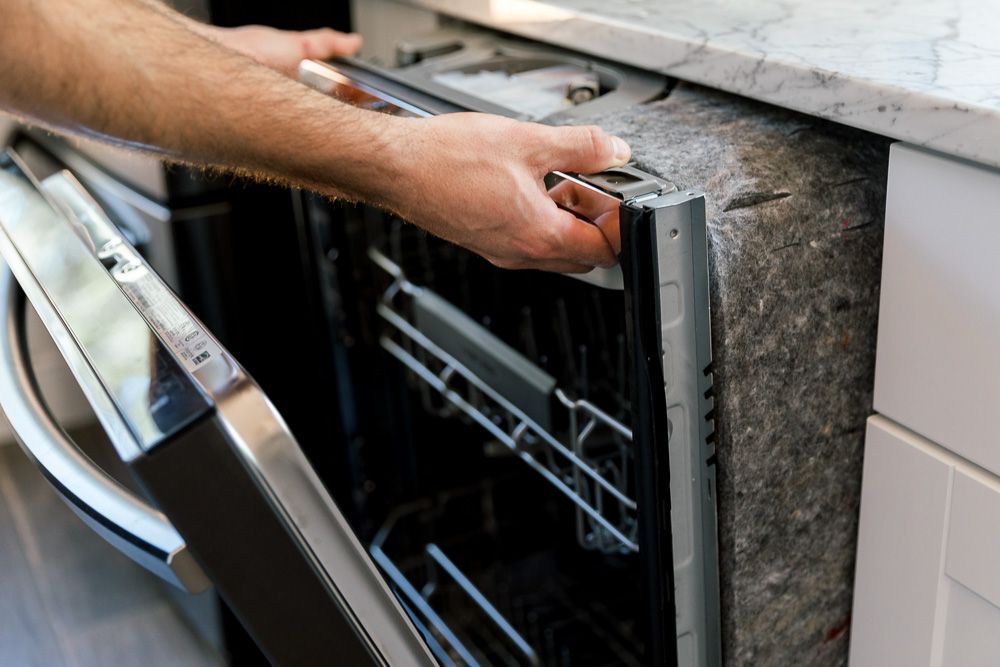
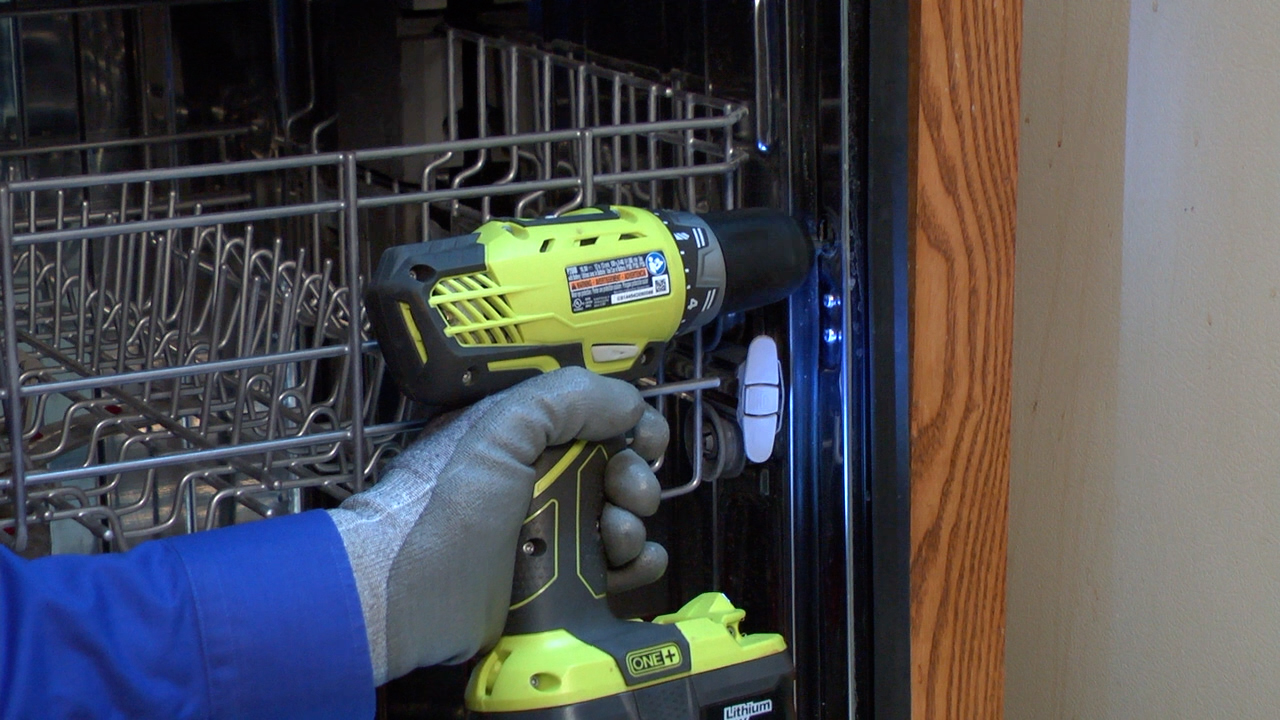
- Secure the dishwasher: Use the provided mounting brackets and screws to secure the dishwasher to the cabinet or countertop. Tighten the screws to ensure the appliance is firmly in place.
9. Check for Leaks
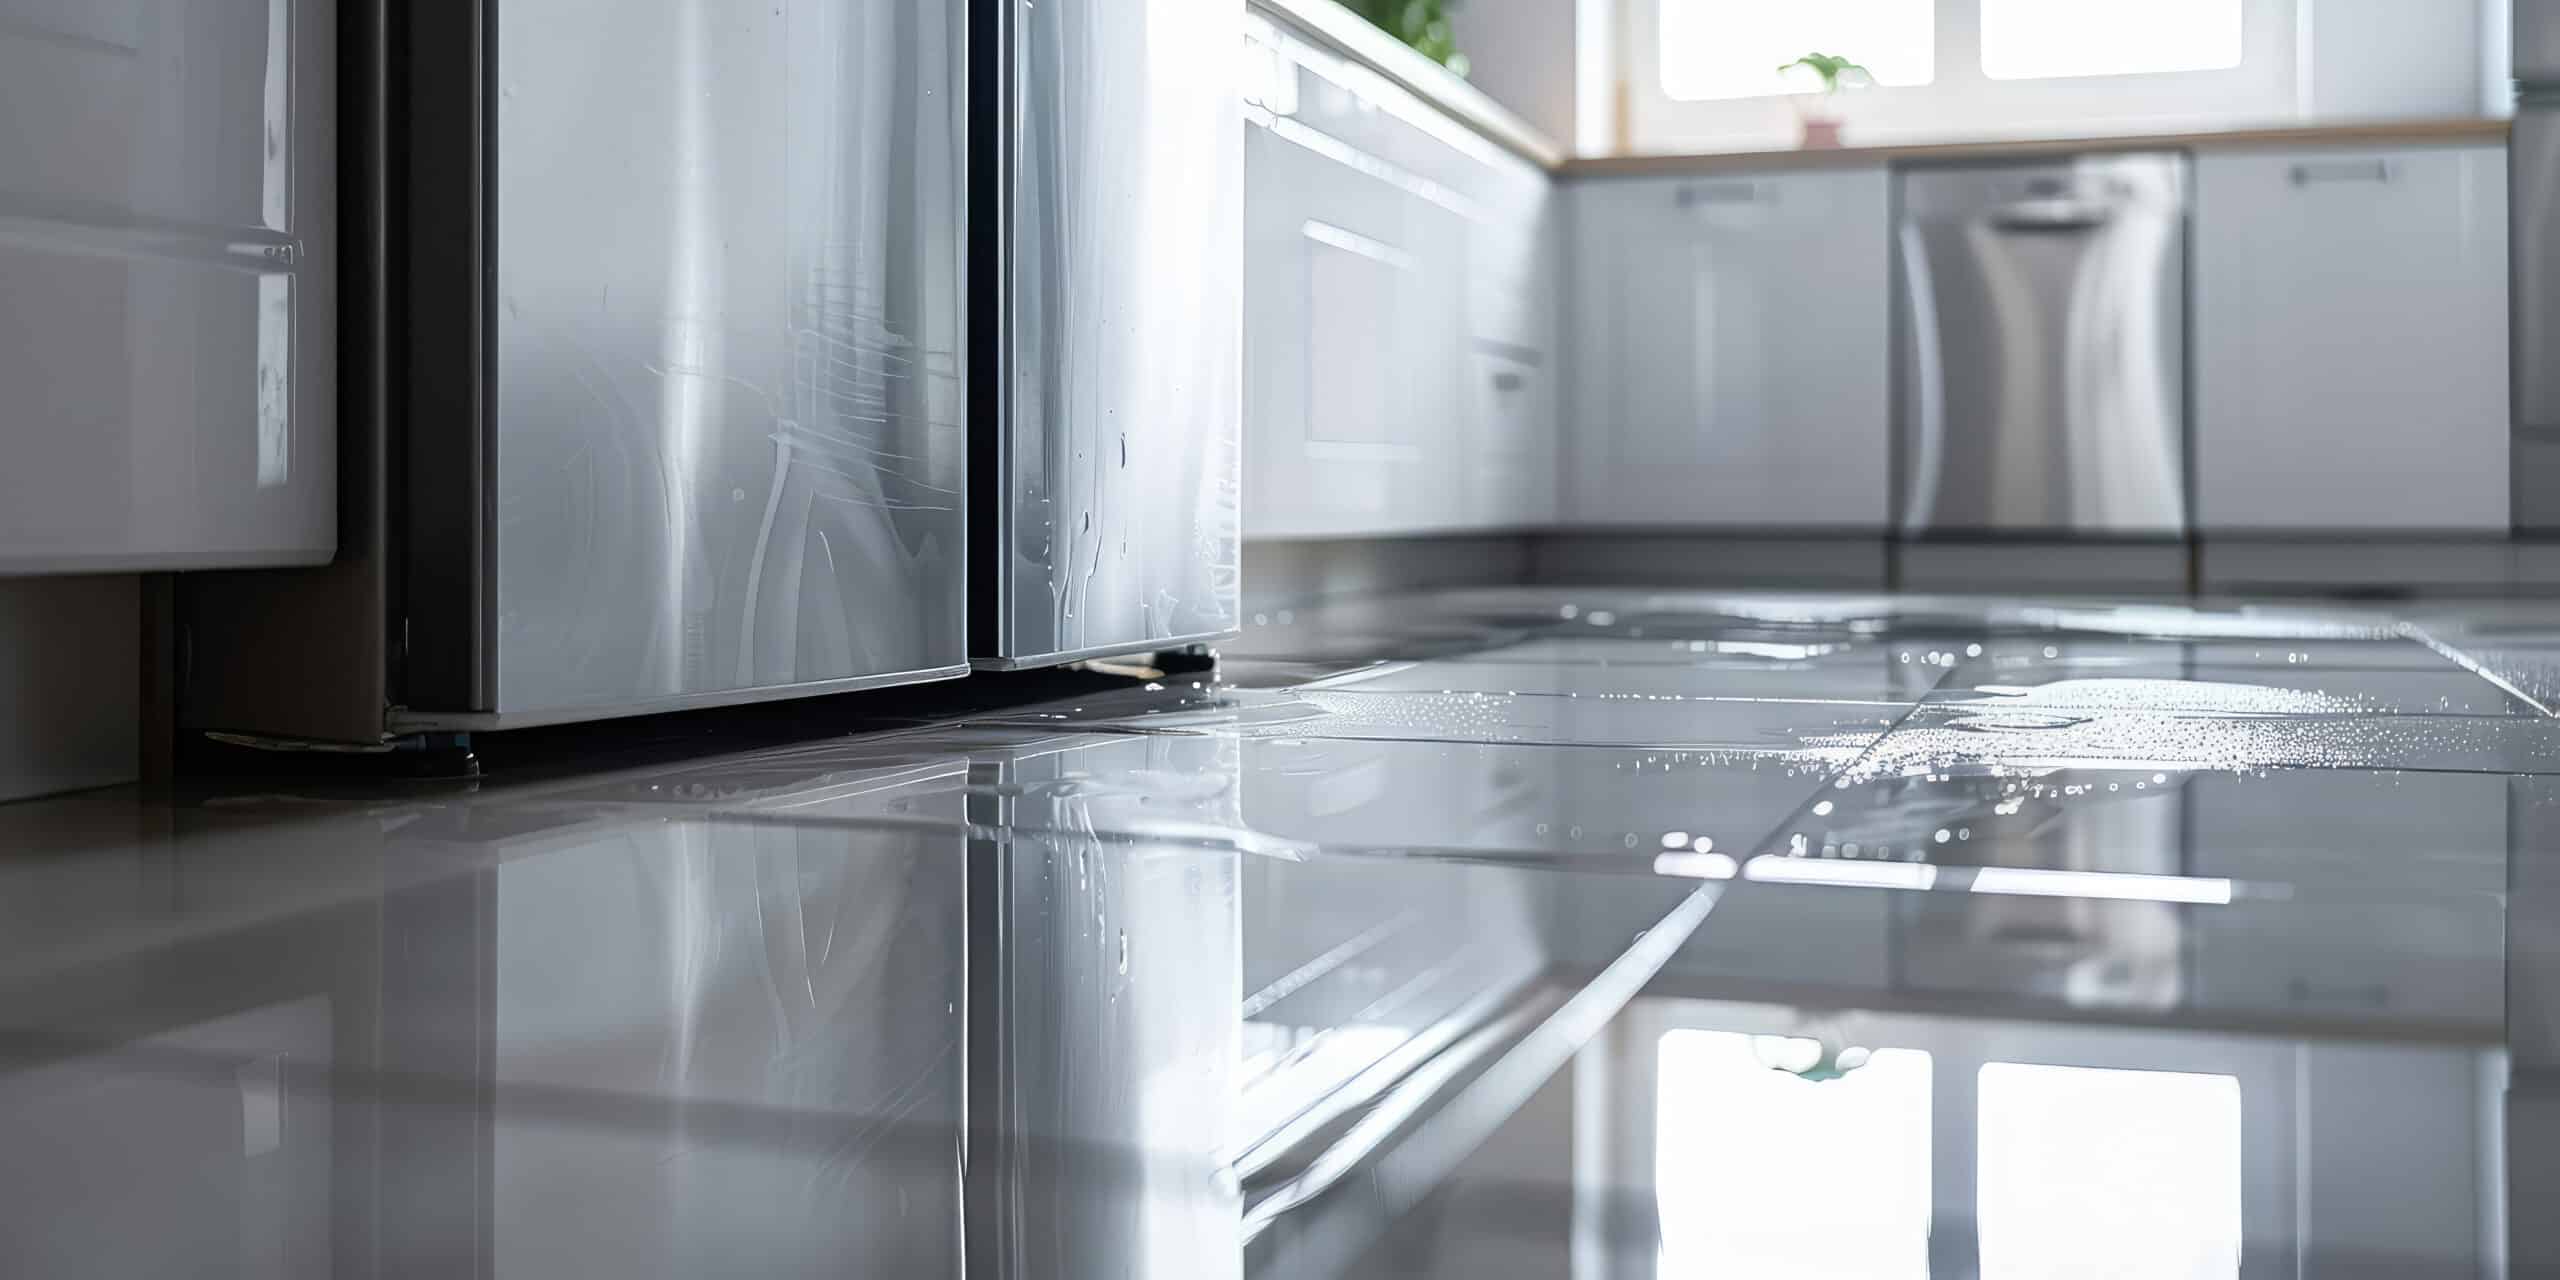
- Test the connections: Turn on the water supply and check all connections for leaks. If you notice any, turn off the water supply and tighten the connections.
- Run a test cycle: After ensuring there are no leaks, run a short cycle on the dishwasher to test its functionality.
Tips for a Successful Installation
- Measure the space: Before purchasing a dishwasher, double-check that it will fit in the allocated space. Make sure there is enough room for water and drain lines, as well as the power connection.
- Check the local codes: Ensure that your installation complies with local plumbing and electrical codes. Some areas may have specific requirements for dishwashers.
- Seek professional help if needed: If you’re not comfortable with plumbing or electrical work, consider hiring a professional installer to avoid any mistakes or hazards.
Conclusion
Installing a dishwasher can be an affordable and satisfying DIY project when done correctly. By following the steps outlined in this guide, you can ensure that your new appliance is properly connected and functioning. Always remember to prioritize safety by turning off power and water before working on any appliances, and if in doubt, consult with a professional. For expert appliance installation services in Toronto, check out RightFix Appliance Installation.
Location we Service
- Ajax
- Alliston
- Aurora
- Bolton
- Bradford
- Brampton
- Brantford
- Burlington
- Caledon
- Cambridge
- Concord
- East York
- Etobicoke
- Georgetown
- GTA
- Guelph
- Halton Hills
- Hamilton
- Innisfil
- Keswick
- King City
- Kitchener
- Kleinburg
- Maple
- Markham
- Milton
- Mississauga
- New Tecumseth
- Newmarket
- North York
- Oakville
- Orangeville
- Oshawa
- Pickering
- Richmond Hill
- Scarborough
- Schomberg
- Stouffville
- Thornhill
- Toronto
- Unionville
- Uxbridge
- Vaughan
- Waterloo
- Whitby
- Woodbridge


