Why Is My Fridge Leaking Water? Causes and Fixes
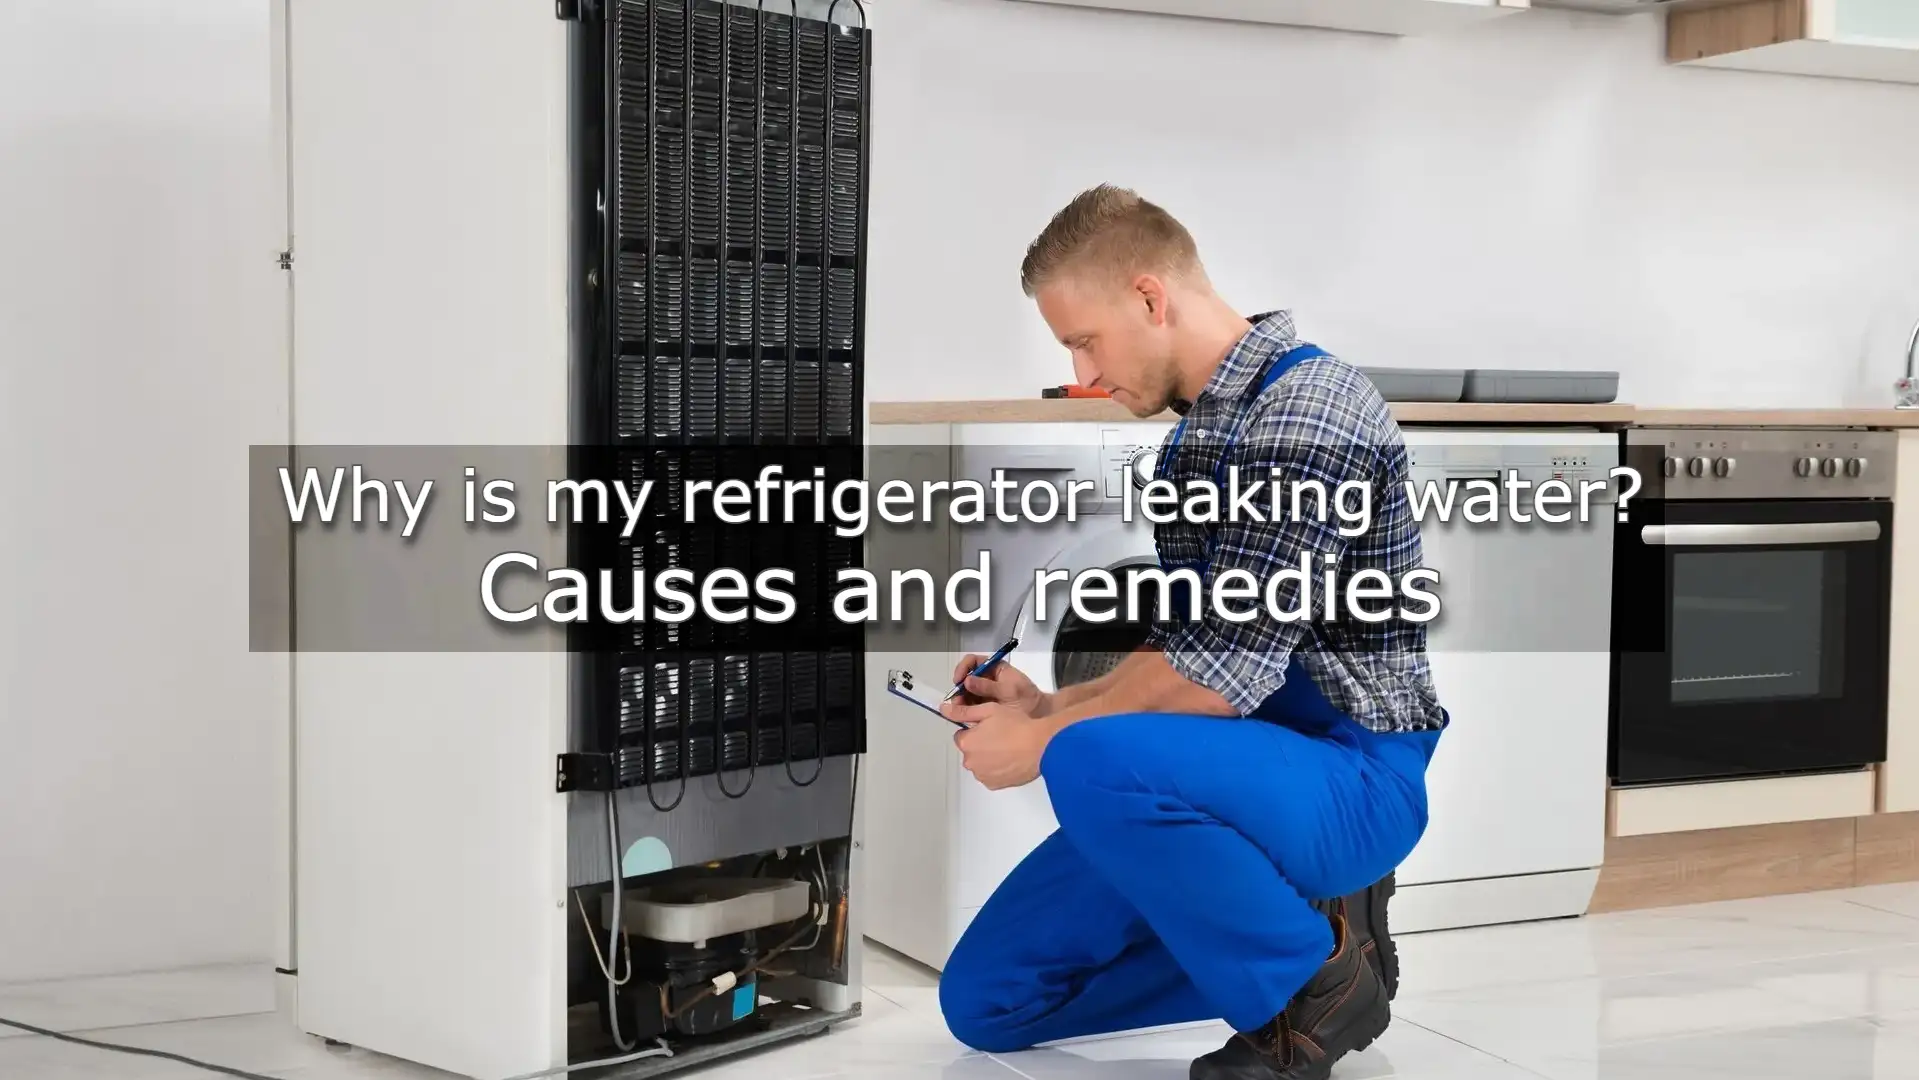
A puddle under the refrigerator is never a happy sight. The good news: most leaks stem from a small handful of common issues you can diagnose and fix with simple tools. Below you’ll find the most frequent causes, how to confirm each one, and the safest, quickest fixes. We’ll also flag the situations where calling a technician is the smarter (and cheaper-in-the-long-run) move.


Safety first: Unplug the appliance before removing panels or working near wiring. If your model has a water supply, turn off the shut-off valve before disconnecting any lines.
Quick Checklist: Where Is the Water Coming From?
-
Front center, under the crisper drawers: Likely a clogged or frozen defrost drain.
-
Rear, near the wall or under the machine: Often a cracked or misaligned drain pan or condensation overflow.
-
From the door area: Possible torn door gaskets or blocked door drains on some models.
-
From behind the fridge or under cabinets: Suspect a leaking water line, filter, or inlet valve (ice maker/water dispenser models).
-
Random drips inside the fresh-food compartment: Condensation due to warm air intrusion or temperature settings.
1) Clogged or Frozen Defrost Drain

Why it leaks: During automatic defrost, melted frost should run through a small drain hole to a pan under the fridge. When the drain clogs with debris or freezes, water backs up and spills into the freezer floor or down into the refrigerator and onto your kitchen floor.
How to confirm
-
Ice sheet on the freezer floor or water under the crisper drawers.
-
Visible drain hole (rear center of the freezer or behind a panel) looks iced over or grimy.
DIY fix (20–40 minutes)
-
Unplug the fridge. Remove freezer drawers/shelves for access.
-
If iced, defrost the drain: aim a hair dryer on low from a safe distance, or pour warm (not boiling) water into the drain area.
-
Flush the drain with a turkey baster or squeeze bottle: warm water + a little baking soda helps dissolve slime.
-
Check the rubber duckbill or check valve at the drain outlet (often above the drain pan). Clean or trim only per manufacturer guidance.
-
Reassemble, plug in, and monitor for 24 hours.
When to call a pro
-
Drain keeps re-freezing (could indicate a defrost heater/thermostat issue or poor insulation around the tube).
2) Uneven Fridge or Overfilled Drain Pan
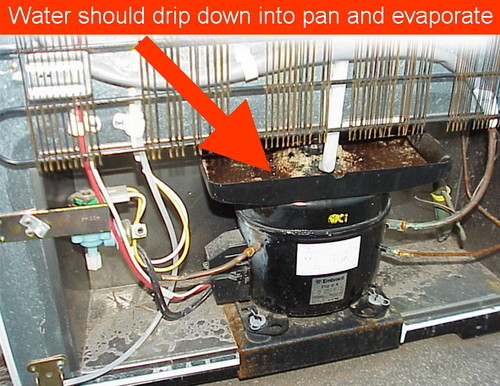
Why it leaks: The drain pan collects defrost water to evaporate via condenser heat. If the fridge isn’t level (front-to-back or side-to-side), water can slosh out. A damaged or displaced pan also leaks.
How to confirm
-
Pan visibly tilted or out of position; water marks on the floor near the rear.
-
Fridge rocks when you open the door.
DIY fix (10–20 minutes)
-
Pull the fridge forward carefully.
-
Locate the drain pan; reseat it in its rails. Check for cracks. Replace if damaged.
-
Level the fridge: turn the leveling feet so the front is ~3–6 mm (⅛–¼ in.) higher than the back—this helps doors self-close and drains water correctly.
3) Door Gasket Leaks (Warm Air In, Water Out)
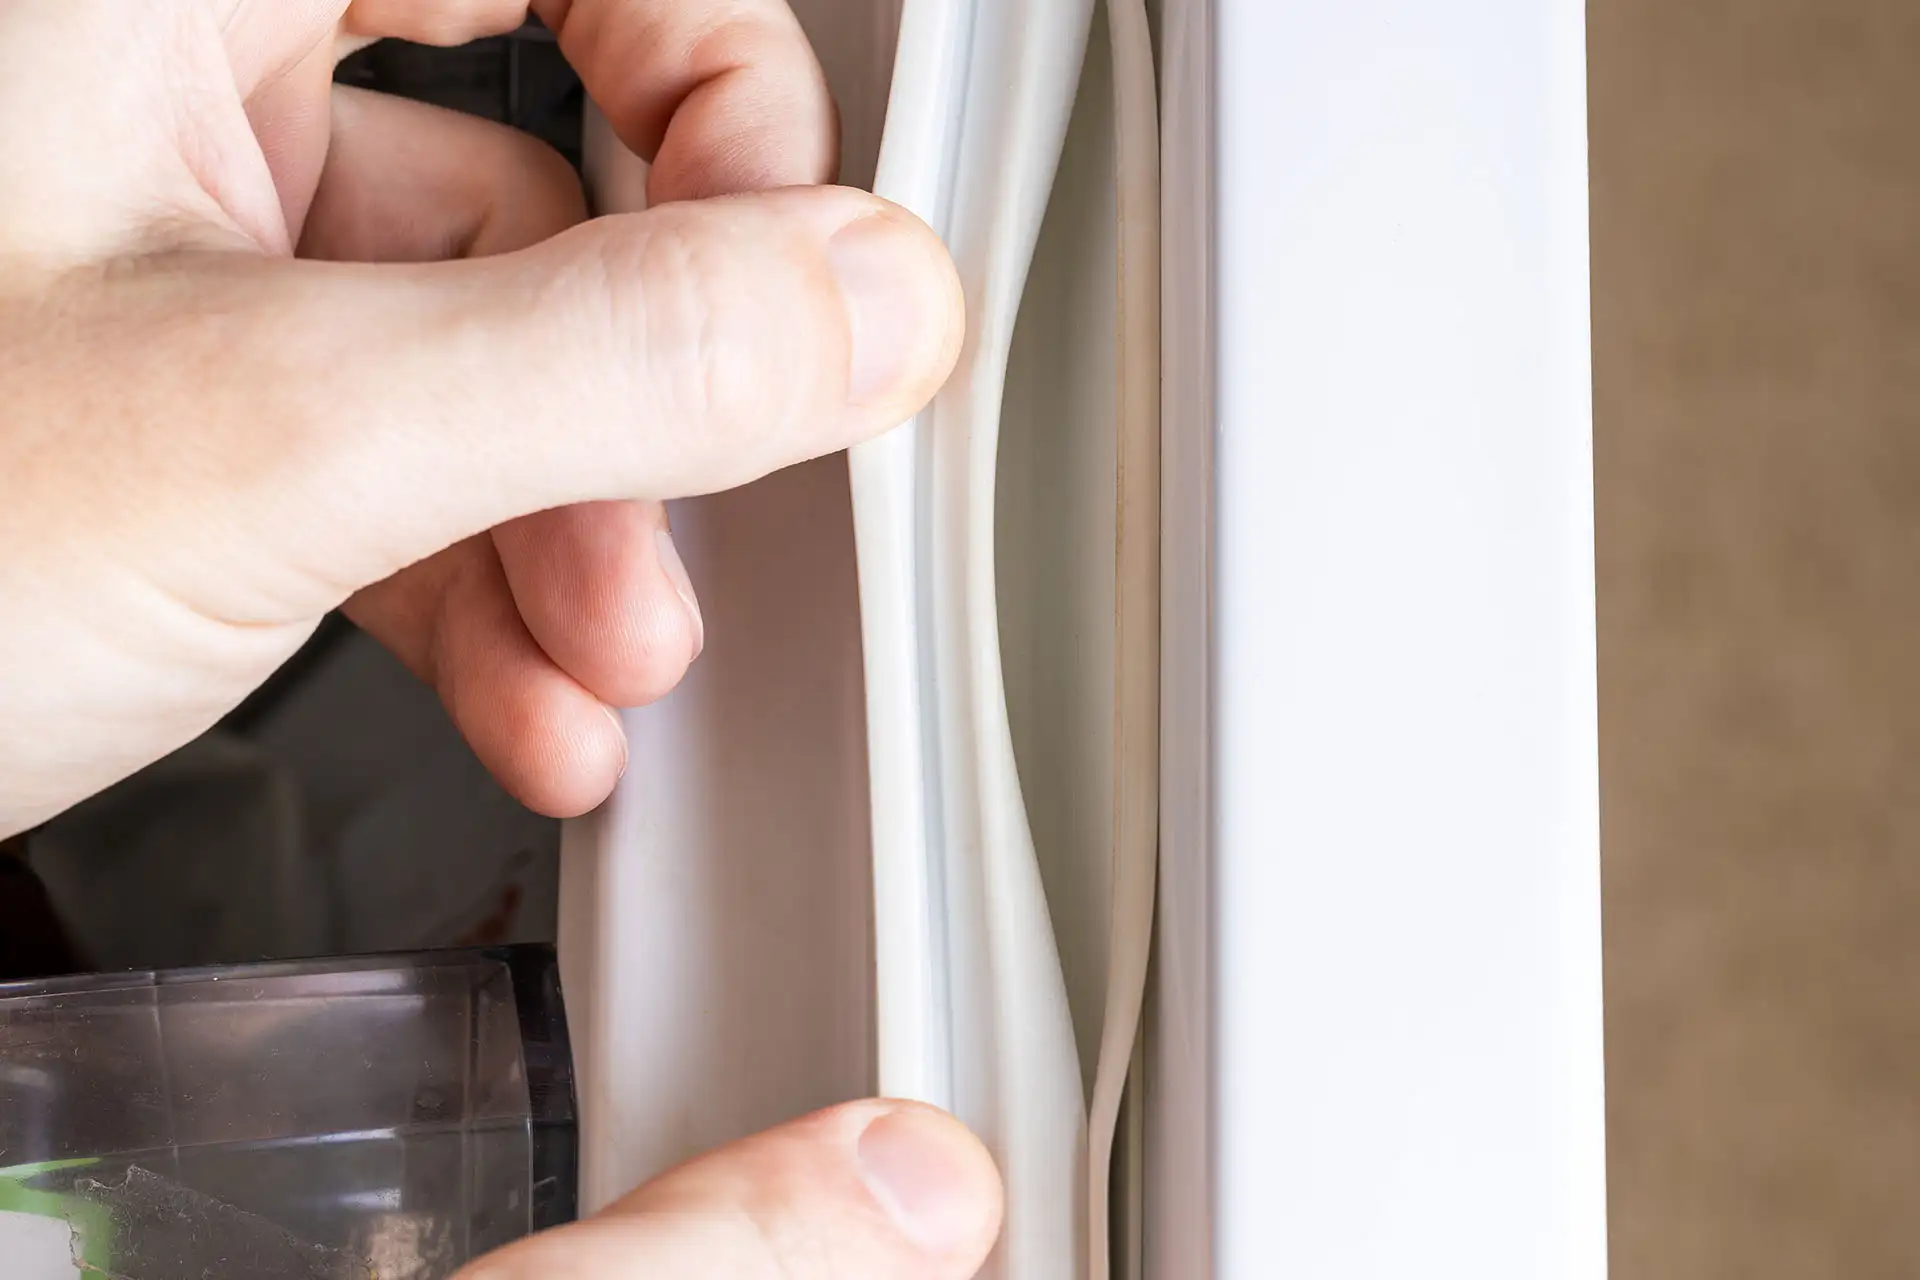
Why it leaks: Torn, dirty, or loose door seals let humid air in. Moisture condenses on interior surfaces and may drip onto shelves and out the front.
How to confirm
-
Close a sheet of paper in the door; if it pulls out without resistance, the seal is weak there.
-
Visible mildew, cracks, or gaps.
DIY fix (15–30 minutes)
-
Wash gaskets with warm water and mild soap; dry thoroughly.
-
Warm warped sections gently with a hair dryer to help them relax and reseal.
-
Replace gaskets if cracked or shrunken (model-specific part; they press or screw into a channel).
4) Water Filter, Housing, or Inlet Valve Leaks
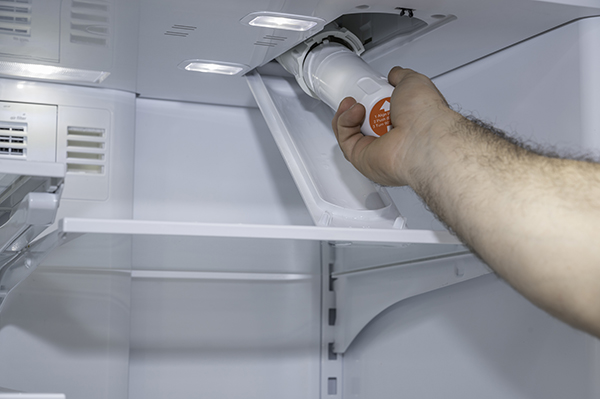
Why it leaks: For fridges with dispensers/ice makers, water travels through a filter and valve assembly. Cross-threaded filters, brittle O-rings, and cracked housings cause slow, sneaky leaks that pool behind or under the fridge.
How to confirm
-
Remove toe-kick or rear access panel; check for dampness around the filter head, plastic tubing, and the inlet valve.
-
Look for mineral tracks or white residue around fittings—classic signs of a long-term drip.
DIY fix (20–45 minutes)
-
Turn off the water supply.
-
Reseat or replace the filter, ensuring the correct model and orientation; lubricate O-rings with food-safe silicone if recommended.
-
Snug push-fit or compression connections. Replace brittle tubing.
-
If the inlet valve itself leaks (body cracked, weeping at seams), replace the valve assembly.
When to call a pro
-
Any uncertainty with plumbing connections, or if shut-off valves are stuck/corroded.
5) Ice Maker Fill Tube or Supply Line Issues
Why it leaks: The small fill tube can shift out of position or ice up, sending water outside the ice mold. The external copper/PEX supply line can also rub, kink, or loosen.
How to confirm
-
Ice stalactites near the ice maker; water droplets around the fill area.
-
Dampness along the back wall where the supply line runs.
DIY fix
-
Realign the fill tube so it sits fully over the mold.
-
Thaw any ice with warm air (no sharp tools).
-
Replace kinked or damaged supply lines; use a stainless braided or PEX line with proper ferrules.
6) Temperature & Humidity Settings
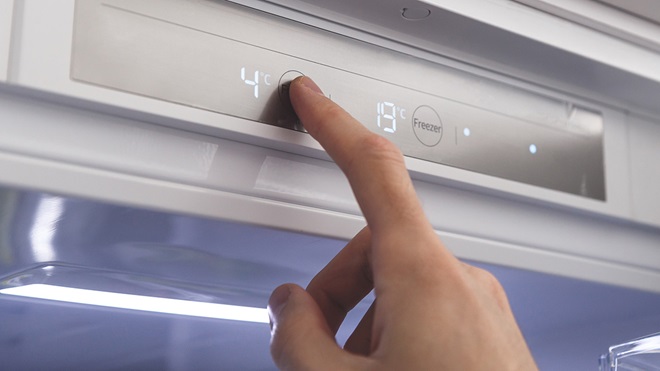
Why it leaks: Temperatures set too warm, crisper humidity sliders left open, or frequent long door openings can push moisture past what the system can handle.
Dial it in
-
Fresh food: 1–4 °C (34–39 °F).
-
Freezer: −18 °C (0 °F).
-
Use “Humidity High/Closed” for leafy greens and “Low/Open” for fruits.
-
Avoid overpacking vents or pushing items against the back wall where condensate forms.
7) Cracked Interior Components (Rare but Real)
Why it leaks: Hairline cracks in the liner, a warped drip channel, or a split reservoir (on some models) can create mystery leaks that come and go.
How to confirm
-
Trace water paths with a dry paper towel; look for a consistent wet line after opening/closing cycles.
-
Inspect plastic channels and seams under bright light.
Fix
-
Small plastic cracks may be sealed with manufacturer-approved epoxy, but component replacement is usually more reliable.
Step-by-Step Troubleshooting Flow
-
Unplug & secure water supply.
-
Check inside the freezer for ice sheets → clear/flush the defrost drain.
-
Inspect and level the fridge; reseat the drain pan.
-
Test door gaskets with the paper trick; clean/replace as needed.
-
Examine water components: filter, housing, inlet valve, supply line, ice maker fill tube.
-
Set correct temperatures and reduce door-open time.
-
Monitor 24–48 hours. If moisture returns, you likely have a part failure (valve, heater, sensor) that needs diagnostics.
When to Call a Technician
-
The drain re-freezes repeatedly.
-
You see sparking, burnt smells, or standing water near wiring.
-
There’s a steady drip from the filter head, inlet valve, or an internal seam you can’t access.
-
You’re uncomfortable moving the fridge or handling water connections.
If you tried the steps above and the leak persists, book a repair—if you couldn’t fix it, contact us and we will fix it. For local, same-day service, see fridge repair in Toronto for details.
Location we Service
- Ajax
- Alliston
- Aurora
- Bolton
- Bradford
- Brampton
- Brantford
- Burlington
- Caledon
- Cambridge
- Concord
- East York
- Etobicoke
- Georgetown
- GTA
- Guelph
- Halton Hills
- Hamilton
- Innisfil
- Keswick
- King City
- Kitchener
- Kleinburg
- Maple
- Markham
- Milton
- Mississauga
- New Tecumseth
- Newmarket
- North York
- Oakville
- Orangeville
- Oshawa
- Pickering
- Richmond Hill
- Scarborough
- Schomberg
- Stouffville
- Thornhill
- Toronto
- Unionville
- Uxbridge
- Vaughan
- Waterloo
- Whitby
- Woodbridge